How to Picnic Table Plans: A Guide to Building Your Own Outdoor Oasis
Introduction
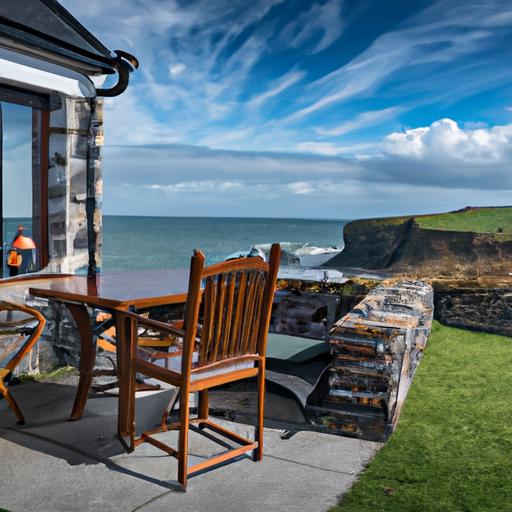
Imagine basking in the warm sunshine, surrounded by nature’s beauty, while enjoying a scrumptious meal with your loved ones. A picnic table is not just a piece of outdoor furniture; it’s an invitation to create lasting memories and embrace the joys of outdoor dining. Whether it’s for your backyard, patio, or a nearby park, having a picnic table is essential for those seeking a delightful dining experience in the great outdoors.
Benefits of Building Your Own Picnic Table
Why settle for a generic, mass-produced picnic table when you can unleash your creativity and build a customized one that perfectly suits your needs? By constructing your own picnic table, you can unlock a world of benefits. Firstly, it allows you to tailor the design, size, and materials to match your preferences, ensuring a one-of-a-kind masterpiece. Secondly, building your own picnic table can be an exciting and fulfilling DIY project that allows you to unleash your inner craftsman. It’s an opportunity to bond with family and friends, as you work together to create something remarkable.
Overview of the Article’s Purpose and Content
In this comprehensive guide, I will walk you through the process of building your own picnic table, providing you with step-by-step instructions, essential tips, and tricks to ensure your project is a resounding success. From understanding the basics of picnic table plans to gathering the necessary materials and tools, I’ve got you covered. Together, we will embark on a journey that will empower you to construct a picnic table that will become the centerpiece of your outdoor oasis. So, roll up your sleeves, grab your tools, and let’s dive into the world of picnic table plans!
Understanding the Basics of Picnic Table Plans
A. What are Picnic Table Plans?
When embarking on a picnic table building project, it’s crucial to have a clear roadmap to guide your construction journey. This is where picnic table plans come into play. Picnic table plans are detailed blueprints or diagrams that outline the step-by-step process of constructing a picnic table. These plans provide measurements, materials lists, and assembly instructions, ensuring that even novice builders can successfully complete the project. Whether you’re a seasoned DIY enthusiast or a beginner carpenter, having well-crafted picnic table plans is like having a trusted companion by your side, guiding you towards the creation of a stunning outdoor dining space.
B. Why is it Essential to Use Plans when Building a Picnic Table?
Building a picnic table without proper plans is like embarking on a journey without a map. While it may be tempting to rely on guesswork or simply follow a generic design, using plans offers numerous advantages. Firstly, plans provide precise measurements, ensuring that all components fit together seamlessly. This eliminates the frustration of mismatched pieces and saves time and effort. Secondly, plans help you visualize the end result, allowing you to make informed decisions about design elements, such as the table length, bench height, and overall aesthetics. Lastly, plans act as a safety net, ensuring that your picnic table is structurally sound and can withstand the test of time. By following proven plans, you can have peace of mind knowing that your creation will provide a sturdy and comfortable dining area for years to come.
C. Factors to Consider before Starting the Project
Before diving headfirst into your picnic table project, it’s important to consider a few key factors. Firstly, assess the available space in your outdoor area to determine the appropriate size of the table. Consider how many people you plan to accommodate and whether you want a traditional rectangular table or a round one. Additionally, think about the style and design elements that align with your personal taste and the surrounding environment. This will help you select the right type of wood, finishes, and overall aesthetic for your picnic table. Lastly, take into account your skill level and the tools you have at your disposal. While picnic table plans cater to builders of all experience levels, it’s helpful to choose plans that align with your capabilities to ensure a smooth and enjoyable construction process.
Step-by-Step Instructions for Building a Picnic Table
Building your own picnic table may seem like a daunting task, but fear not! With a clear plan and some handy instructions, you’ll be well on your way to creating a stunning picnic table that will impress your friends and family. Follow these step-by-step instructions to bring your picnic table to life:
A. Preparing the Workspace and Ensuring Safety
Before you begin, it’s crucial to set up a suitable workspace and prioritize safety. Clear an area in your workshop or backyard that provides ample room to maneuver and work comfortably. Ensure that you have the necessary safety equipment, such as goggles, gloves, and ear protection, to guard against any potential hazards. Safety should always be your top priority throughout the construction process.
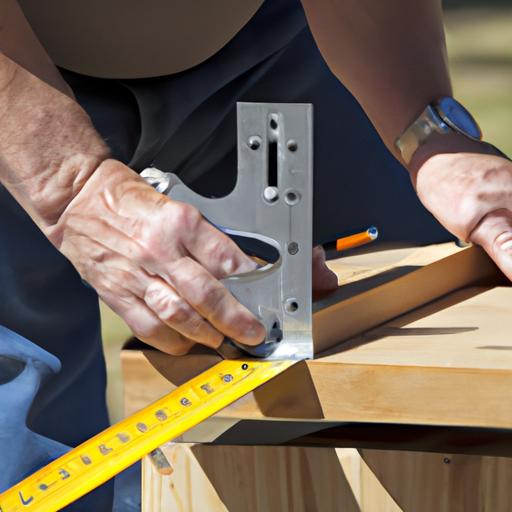
B. Cutting and Shaping the Table’s Components
Start by carefully measuring and marking the dimensions for the table’s components, including the tabletop, bench boards, and support beams. Use a saw, preferably a circular saw or miter saw, to cut the boards according to your measurements. Take your time to ensure precise cuts, as accuracy is key to a sturdy and well-fitted picnic table.
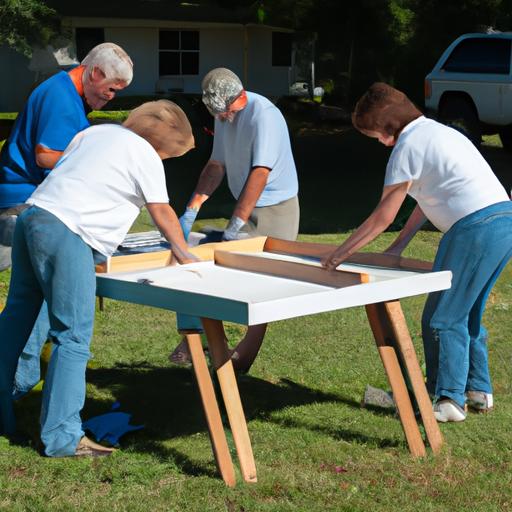
C. Assembling the Table’s Frame and Legs
Once you have cut the necessary components, it’s time to assemble the table’s frame and legs. Begin by attaching the support beams to the legs using screws or bolts, depending on your chosen design. Ensure that the frame is level and square to guarantee a stable structure. Double-check your measurements and make any necessary adjustments before moving on to the next step.
D. Attaching the Table’s Top and Benches
With the frame and legs in place, it’s time to attach the tabletop and benches. Position the boards evenly on the frame, leaving a small gap between each board to allow for expansion and drainage. Secure the boards using screws or nails, ensuring a tight fit. Take a moment to test the stability of the tabletop and benches to ensure they can withstand regular use.
E. Finishing Touches and Optional Additions
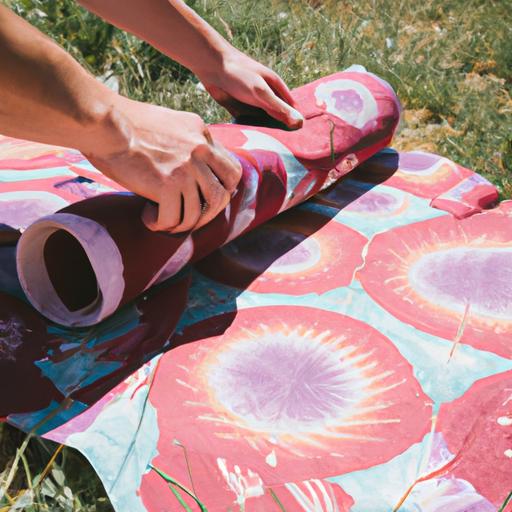
To add the finishing touches to your picnic table, consider sanding the surfaces to smooth out any rough edges or splinters. Apply a weather-resistant finish, such as wood stain or paint, to protect the table from the elements and enhance its appearance. Additionally, you can add optional features such as an umbrella hole or cup holders to elevate the functionality and charm of your picnic table.
By following these step-by-step instructions, you’ll have a beautiful picnic table that will serve as a gathering place for many memorable moments. Get ready to enjoy outdoor meals and create lasting memories with your loved ones!
Conclusion
Building your own picnic table is not just about creating a functional piece of furniture; it’s about embracing the joy of outdoor dining and creating lasting memories with your loved ones. Throughout this guide, we’ve explored the importance of having a picnic table and the benefits of embarking on a DIY project. By following the step-by-step instructions, gathering the necessary materials and tools, and implementing the tips and tricks shared, you can successfully construct a picnic table that will be the envy of your neighbors.
Remember, proper measurements and accuracy are crucial to ensure a sturdy and aesthetically pleasing picnic table. Choose the right type of wood and finishes that complement your outdoor space, and prioritize stability and durability to withstand the test of time. If you encounter any issues during construction, don’t panic! Troubleshooting common problems is part of the journey, and with patience and perseverance, you’ll overcome any challenges that come your way.
Now, armed with the knowledge and inspiration provided in this guide, it’s time to unleash your creativity and embark on your own picnic table project. Whether it’s for backyard gatherings, picnics at the park, or simply a cozy spot to enjoy a cup of coffee outdoors, your DIY picnic table will become the perfect centerpiece for creating unforgettable moments. So, grab your tools, embrace the joy of craftsmanship, and let your picnic table be a testament to your creativity and love for outdoor living. Happy building!