How to Anchor a Picnic Table: Ensuring Safety and Stability for Outdoor Fun
Introduction
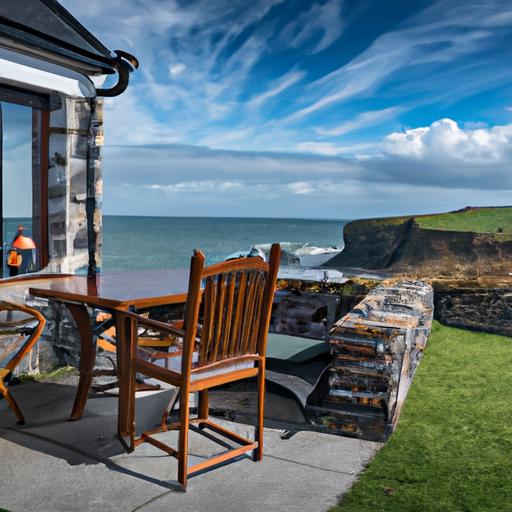
When it comes to enjoying a delightful picnic in nature’s embrace, the last thing we want is an unstable picnic table that wobbles with every bite we take. Picture this: a serene park, a sumptuous spread of food, and the perfect weather. But wait, what’s that? A shaky table that threatens to spill our carefully prepared feast? No worries! In this article, I’ll guide you on how to anchor your picnic table securely, ensuring a worry-free outdoor experience.
Importance of Anchoring a Picnic Table
Before we embark on this anchoring adventure, let’s understand why it’s crucial to secure that beloved picnic table. An anchored picnic table provides stability, ensuring that you can enjoy your meal without constant jitters. It eliminates the risk of accidental tipping, preventing potential injuries to you and your loved ones. By anchoring your picnic table, you’ll create a safe and enjoyable environment for everyone.
Benefits of a Secure Picnic Table
Imagine the relief of savoring your favorite dishes without the table shaking beneath your plate. An anchored picnic table offers peace of mind, allowing you to focus on creating beautiful memories with family and friends. Additionally, a stable table provides a level surface, ensuring spills are kept to a minimum. You’ll also appreciate the convenience of a secure table when playing games or engaging in activities that require a sturdy surface.
Overview of the Article’s Objective
In this comprehensive guide, I’ll walk you through the step-by-step process of anchoring your picnic table. We’ll discuss the tools and materials you’ll need, explore different anchoring methods, and provide additional tips to ensure anchoring success. By the end of this article, you’ll be equipped with the knowledge to secure your picnic table effectively and enjoy countless worry-free picnics in the great outdoors.
So, are you ready to learn how to anchor your picnic table and make every outdoor gathering a delightful and stable experience? Let’s dive in and discover the secrets to achieving a secure and steadfast picnic setup!
Understanding the Need for Anchoring
Potential Risks of an Unanchored Picnic Table
Have you ever experienced the frustration of a picnic table that sways precariously with the slightest movement? An unanchored picnic table poses various risks that can turn your enjoyable outing into a disaster waiting to happen. Without proper anchoring, your table becomes susceptible to tipping over, especially when unevenly distributed weight or external factors like gusty winds come into play. This can lead to spills, damaged food, and even injuries. Don’t let a momentary lapse in stability ruin your picnic bliss!
Factors Contributing to Table Instability
To fully comprehend the importance of anchoring, it’s essential to understand the contributing factors that make a picnic table unstable. Uneven ground, such as grassy slopes or sandy surfaces, can cause the table to tilt or slide. Additionally, the absence of proper anchoring mechanisms allows the table to shift under pressure, compromising its stability. Other factors, such as the size and weight of the table, the number of users, and external forces like wind or accidental bumps, further increase the likelihood of instability.
Importance of Ensuring Safety During Outdoor Activities
Safety should always be a top priority when engaging in outdoor activities, especially when it involves shared spaces and communal equipment like picnic tables. Securing your picnic table not only protects you and your loved ones from potential accidents but also demonstrates your commitment to the well-being of others. By anchoring your picnic table, you create a safe environment for everyone to enjoy, minimizing the risk of injuries and ensuring that the focus remains on creating cherished memories in the great outdoors.
Understanding the need for anchoring is the first step towards achieving a secure and stable picnic table. Now that we recognize the potential risks of an unanchored table, the contributing factors to instability, and the importance of safety during outdoor activities, let’s proceed to the next section and explore the tools and materials required for successful anchoring.
Tools and Materials Required
Necessary Tools for Anchoring a Picnic Table
To ensure a successful anchoring process, it’s essential to gather the right tools. Here’s a comprehensive list of the tools you’ll need to anchor your picnic table securely:
-
Measuring Tape: A measuring tape will help you determine the dimensions and layout of your picnic table area, ensuring accurate placement of anchors.
-
Drill or Screwdriver: Depending on the anchoring method you choose, a drill or screwdriver will be necessary to secure the anchors firmly.
-
Level: A level is crucial to ensure that your picnic table remains balanced and stable. It will help you determine if the table is perfectly horizontal or if adjustments are needed.
-
Wrench: A wrench will come in handy if you opt for ground stakes or any other anchoring method that requires tightening bolts or screws.
-
Hammer: If you decide to use ground stakes, a hammer will be essential for driving them into the ground securely.
-
Mixing Tools: If you opt for a concrete anchoring method, you’ll need tools such as a mixing bucket, trowel, and a mixing rod to properly mix and pour the concrete.
Recommended Materials for Anchoring
Now that you have the necessary tools, let’s discuss the materials required to anchor your picnic table effectively. The choice of materials will depend on the anchoring method you select. Here are some recommended materials to consider:
-
Ground Stakes: For ground stake anchoring, sturdy steel or metal stakes are recommended. Ensure that they are long enough to provide sufficient stability and hold the table firmly in place.
-
Concrete: If you decide to anchor your picnic table with concrete, you’ll need ready-mix concrete or a combination of cement, sand, and gravel. Additionally, you’ll require water for mixing the concrete to the appropriate consistency.
-
Sandbags: Sandbags are a flexible and portable option for anchoring your picnic table. High-quality sandbags with durable materials and strong closures are recommended for long-lasting stability.
Importance of Using Appropriate Equipment
Using the appropriate tools and materials is crucial to achieve a secure and stable anchoring for your picnic table. The right equipment ensures that the anchors are properly installed, minimizing the risk of table movement or instability. By using the recommended tools and materials, you’ll not only enhance the safety of your picnic experience but also extend the lifespan of your picnic table.
Now that we have the necessary tools and materials at our disposal, let’s move on to the next section where we’ll delve into the step-by-step process of anchoring your picnic table securely.
Step-by-Step Guide: How to Anchor a Picnic Table
Securing your picnic table is a breeze with our step-by-step guide. Follow these instructions to ensure your table remains steadfast and stable, providing a safe and enjoyable experience for all.
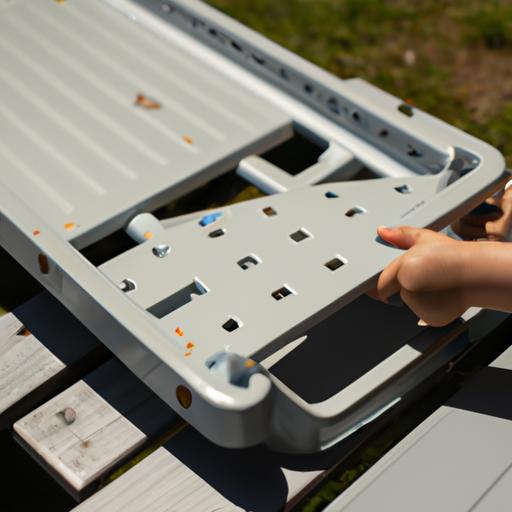
1. Preparing the Picnic Table and Surrounding Area
Before diving into the anchoring process, it’s essential to prepare both the picnic table and its surroundings. Start by cleaning the table thoroughly, removing any debris or dirt that could hinder the anchoring process. Ensure the table is positioned in the desired location, taking into account factors such as level ground and proximity to other objects or structures.
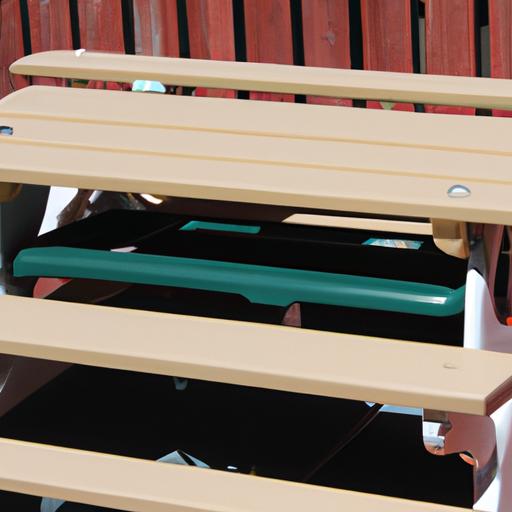
2. Choosing the Right Anchoring Method
When it comes to anchoring your picnic table, various methods can be employed depending on your specific needs and the surrounding environment. Consider the following options:
-
Ground Stakes: Ideal for soft surfaces like grass or soil, ground stakes provide excellent stability. To install, simply drive the stakes into the ground at each table leg’s base, ensuring they are secure and firmly in place.
-
Concrete: For a more permanent anchoring solution, concrete can be used. Mix the concrete according to the manufacturer’s instructions, digging holes at each table leg’s base. Pour the concrete into the holes, making sure it reaches the desired depth. Allow the concrete to cure as per the instructions before using the table.
-
Sandbags: If you require a portable anchoring method, sandbags are a practical choice. Place sandbags around the base of each table leg, ensuring they are tightly secured. The weight of the sandbags will provide stability, especially on surfaces like concrete or pavement.
3. Detailed Instructions for Each Anchoring Method
Now, let’s delve into the specific instructions for each anchoring method:
a. Ground Stakes: Installation Process and Tips
- Select ground stakes that are suitable for the surface you’ll be anchoring on.
- Use a mallet or hammer to drive the stakes into the ground at each table leg’s base. Ensure they are driven in deep enough to provide stability.
- Check the stakes periodically to ensure they remain secure. If necessary, adjust or reposition them for optimal stability.
b. Concrete: Mixing and Pouring Instructions
- Prepare the concrete mix according to the manufacturer’s instructions.
- Dig holes at each table leg’s base, ensuring they are deep enough to provide stability.
- Pour the concrete mix into the holes, filling them up to the desired level.
- Smooth the surface of the concrete with a trowel, ensuring an even finish.
- Allow the concrete to cure as per the manufacturer’s instructions before using the table.
c. Sandbags: Proper Placement and Securing Techniques
- Acquire sandbags that are of sufficient weight to provide stability.
- Place the sandbags around the base of each table leg, ensuring they are evenly distributed.
- Secure the sandbags tightly by tying them with ropes or using clips to prevent movement.
By following these detailed instructions, you’ll be well on your way to anchoring your picnic table effectively. Choose the method that best suits your needs and enjoy a stable and secure outdoor dining experience!